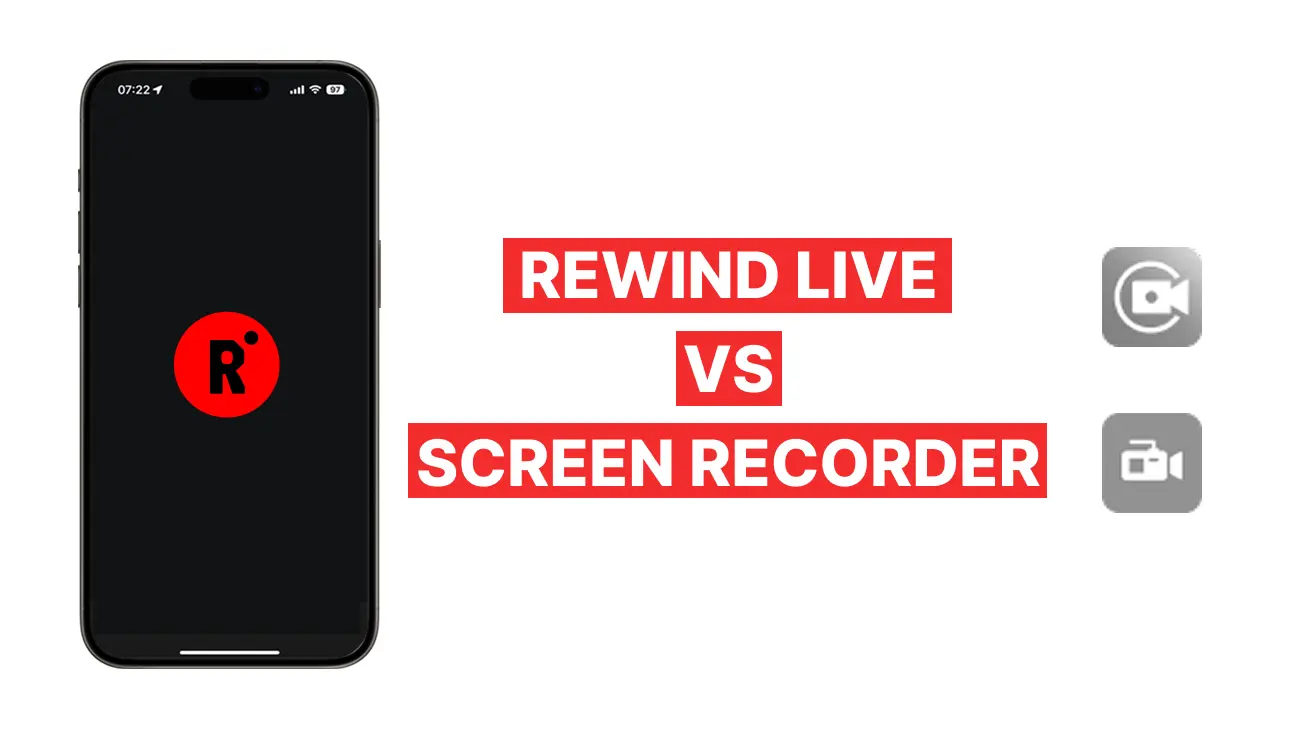
🎥 3 Ways to Record Instagram Live Streams (Even After They End)
Instagram Live offers a dynamic platform for real-time interaction, but its ephemeral nature means that once a live session ends, it's gone—unless you've taken steps to preserve it. Whether you're aiming to save a friend's live session, a brand's Q&A, or your own broadcast for future reference, here are three effective methods to record Instagram Live streams.
1. Rewind Live App: Automatic Recording
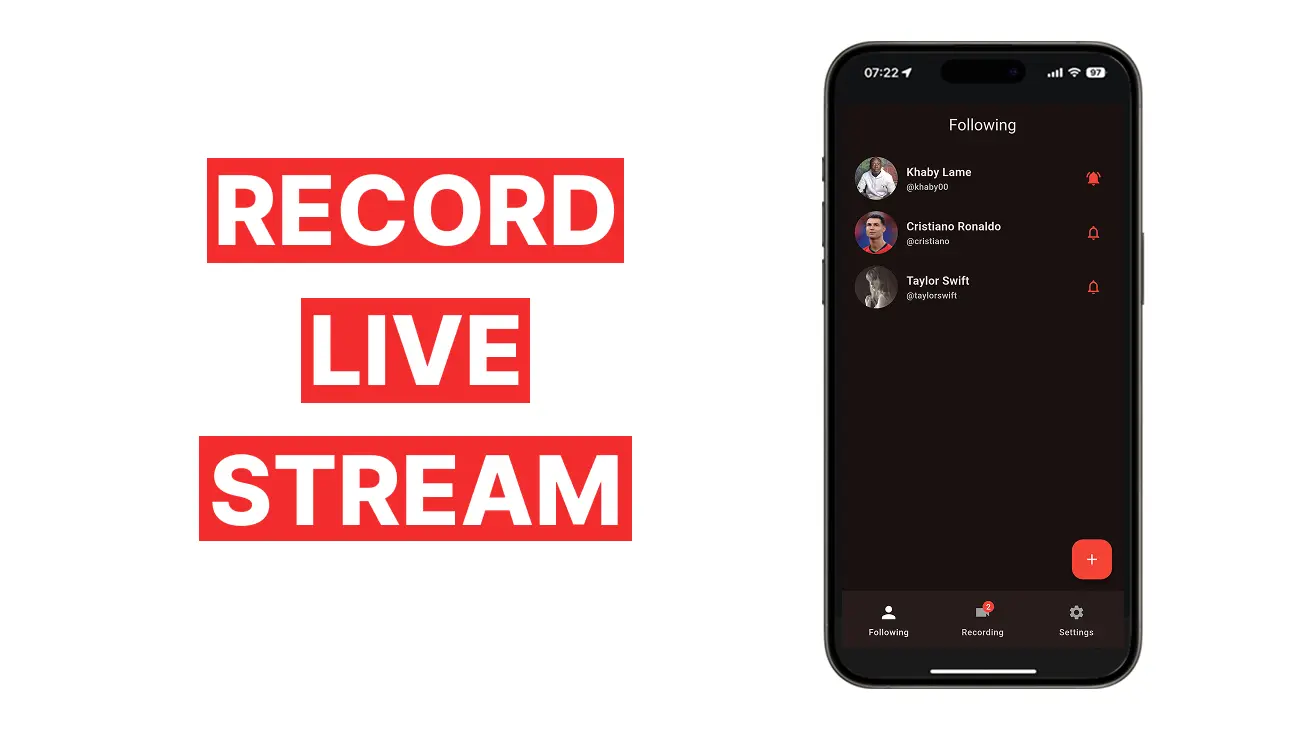
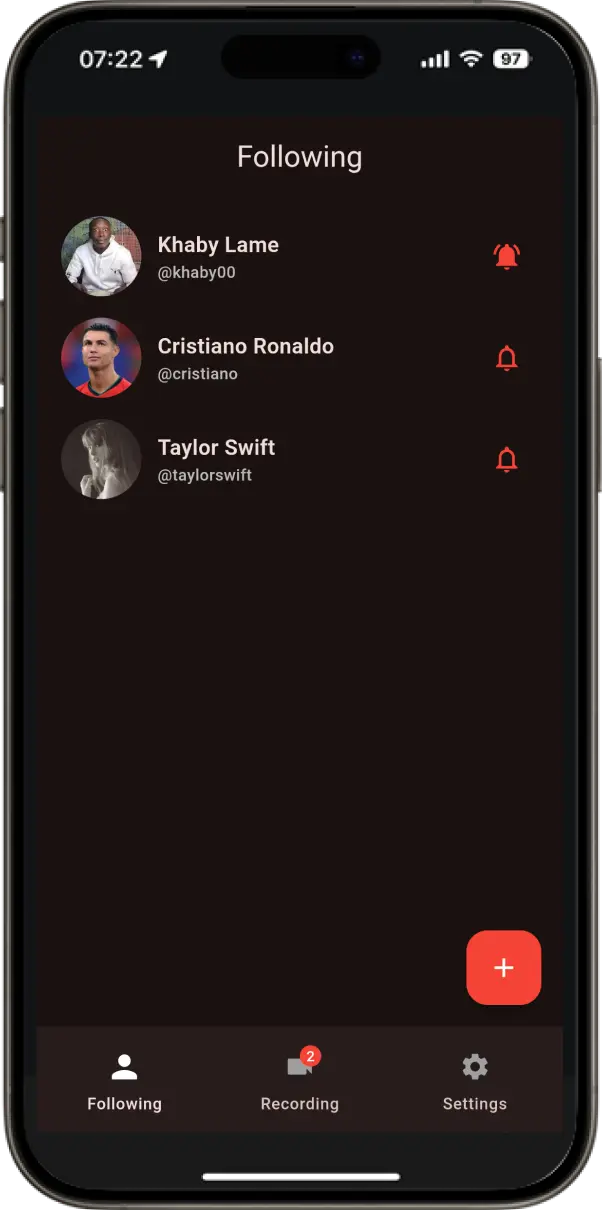
For those seeking a seamless and automated solution, the Rewind Live App stands out. Designed specifically to capture Instagram Live sessions, this app ensures you never miss a moment, even if you're offline or away from your device.
Key Features:
- Automatic Recording: Once set up, Rewind Live monitors and records live sessions from selected accounts without any manual intervention.
- Cloud Storage: Recordings are saved directly to the cloud, conserving your device's storage space and allowing access from multiple devices.
- High-Quality Output: Captures videos in their original quality, preserving both audio and video fidelity.
How to Use:
- Download and Install: Obtain the Rewind Live App from your device's app store.
- Set Up: specify which accounts you'd like to monitor.
- Relax: The app will automatically record live sessions from the selected accounts, storing them in the cloud for you to access at your convenience.
Screenshot:
Note: Ensure you have the necessary permissions and rights to record and store live sessions, especially if they're not your own.
2. Manual Screen Recording
If you prefer a hands-on approach or wish to record a live session spontaneously, manual screen recording is a viable option. Both Android and iOS devices offer built-in screen recording features, and there are numerous third-party apps available for enhanced functionality.
For Android Devices:
- Built-in Screen Recorder (Android 11 and above):
- Access Quick Settings: Swipe down from the top of your screen to open the Quick Settings menu.
- Start Recording: Tap on the "Screen Record" icon. If it's not visible, you might need to add it to your Quick Settings.
- Configure Settings: Choose whether to record audio and show touches on the screen.
- Begin Recording: Tap "Start," then navigate to the Instagram Live session you wish to record.
- Stop Recording: Once done, swipe down and tap the "Stop" button. The recording will be saved to your gallery.
- Third-Party Apps: Apps like AZ Screen Recorder or DU Recorder offer additional features like editing tools, live streaming, and more.
For iOS Devices:
- Built-in Screen Recorder (iOS 11 and above):
- Enable Screen Recording: Go to Settings > Control Center > Customize Controls, then add "Screen Recording."
- Access Control Center: Swipe down from the top-right corner (iPhone X and later) or swipe up from the bottom edge (iPhone 8 and earlier).
- Start Recording: Tap the "Record" button, wait for the countdown, then open Instagram and start watching the live session.
- Stop Recording: Open the Control Center again and tap the "Record" button to stop. The video will be saved to your Photos app.
Note: Ensure you have sufficient storage space and battery life before starting a recording.
3. Saving Replays (When Available)
Sometimes, Instagram users choose to share their live sessions as replays on their profiles. If this option is available, you can save or download the session for later viewing.
Steps to Save a Replay:
- Locate the Replay: Visit the user's profile and look for the replay in their IGTV or recent posts.
- Save to Your Profile:
- Tap on the Replay: Open the video.
- Access Options: Tap the three-dot menu icon.
- Save: Select "Save" to add it to your saved posts.
- Download Using Online Tools:
- Copy the Video Link: Tap the three-dot menu and select "Copy Link."
- Use a Downloader: Visit a website like SaveInsta or similar, paste the link, and download the video to your device.
Note: Downloading and sharing content without permission may violate Instagram's terms of service and copyright laws. Always ensure you have the right to download and share content.
✅ Conclusion
Recording Instagram Live sessions ensures you have access to valuable content even after the broadcast ends. Whether you opt for the automated convenience of the Rewind Live App, the hands-on approach of manual screen recording, or saving replays when available, each method has its advantages.
Quick Comparison:
| Method | Automation | Quality | Storage | Best For |
|---|---|---|---|---|
| Rewind Live App | Yes | High | Cloud | Passive recording of multiple sessions |
| Manual Screen Recording | No | Variable | Device Storage | Spontaneous or selective recording |
| Saving Replays | Partial | Original | Device/Cloud | When replays are shared by the host |
Choose the method that best fits your needs and never miss out on important Instagram Live content again!
Disclaimer: Always respect privacy and copyright laws when recording or sharing content. Obtain necessary permissions when required.